-
Cusmin ® The Ultimate WordPress dashboard customization plugin


Change Dashboard Heading Text
This will change the default title "Dashboard" on the dashboard page.
Add Custom Dashboard Content
Add your custom content here and it will appear on the dashboard page below the title.
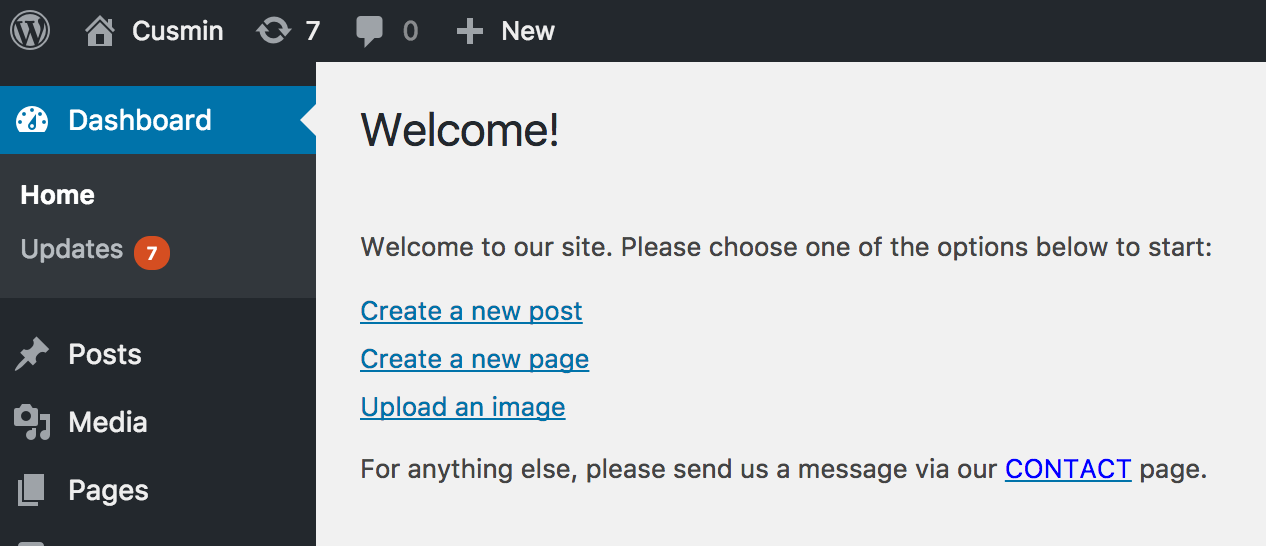
With these options, you can turn on/off the visibility of the widgets, including default WordPress widgets and widgets created by plugins. If any installed plugin has its own custom widgets, they will appear here, and you will be able to toggle their visibility on/off.
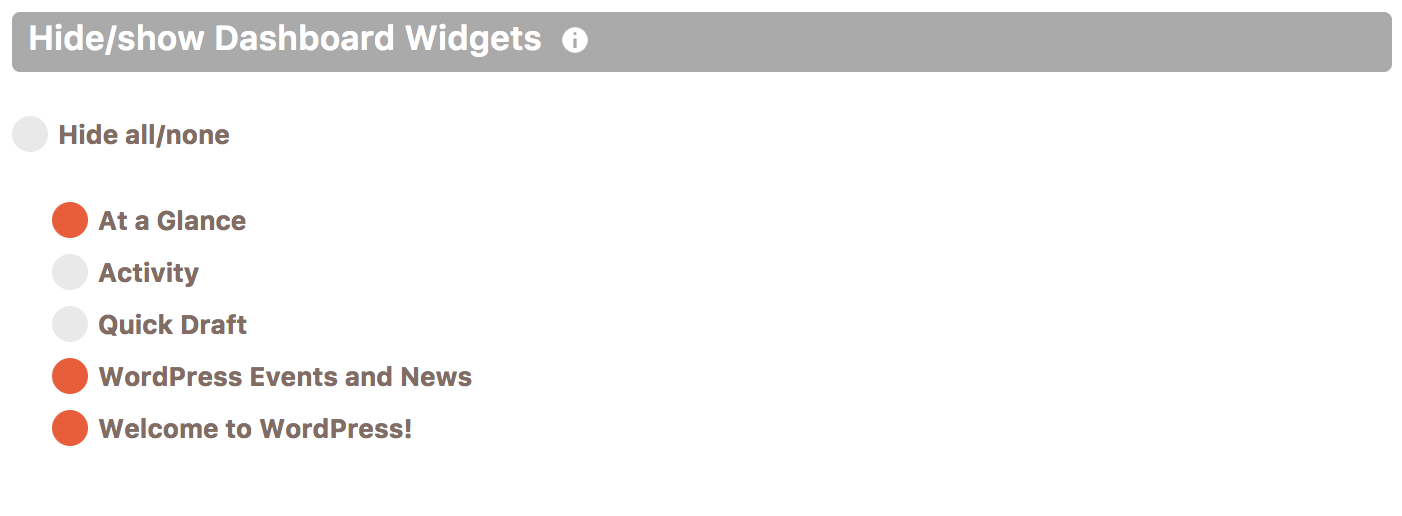
With Cusmin, you can create your own Dashboard widgets with a custom content or create a content from one of the predefined Cusmin dashboard widgets:
You can use custom dashboard widget in Cusmin plugin to create a widget with your own custom content. To start, choose Custom Widget type. Type in the title of the widget. Click on the Widget content box to open a WYSIWYG editor. You can now add your own content including images, videos and embedded content, like you would do in a regular WordPress post. This also supports a custom HTLM code, so you will have all freedom you want to create your custom widget.
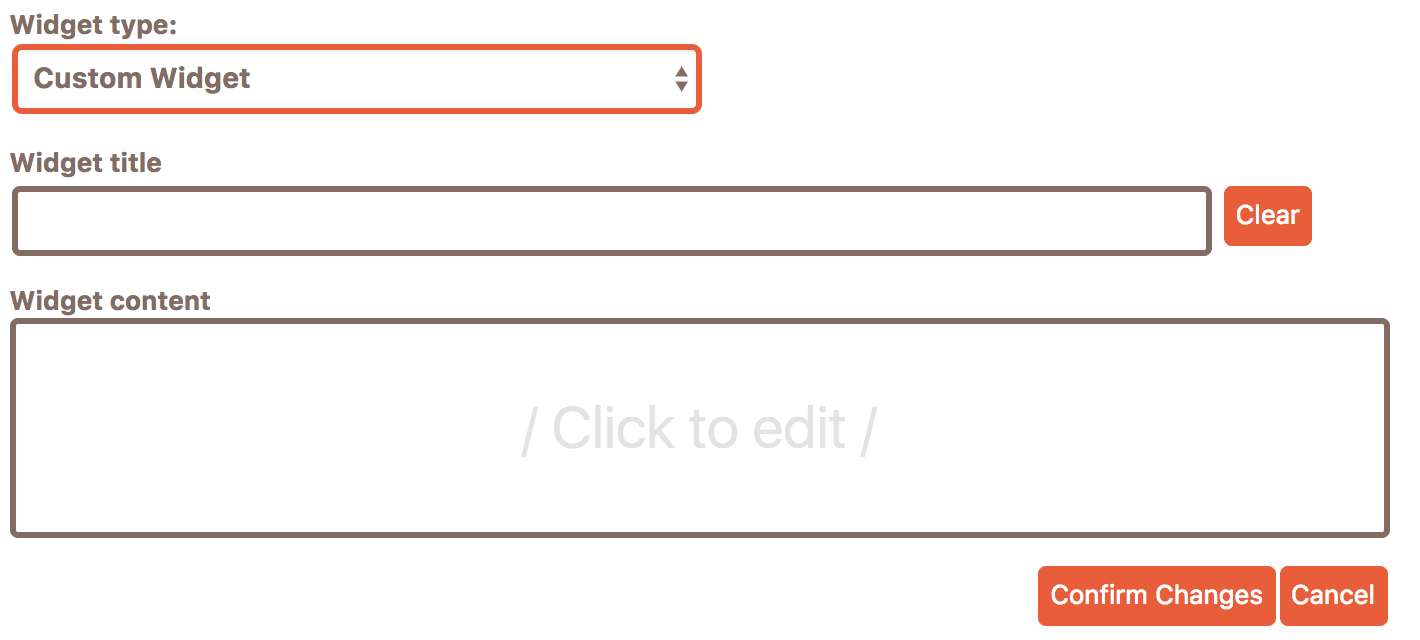
You can change the order of the custom widgets by drag-and-drop reordering. This will set the default order of the dashboard widgets for new users only, or existing users that didn't set their custom order.

When any WordPress user makes his own order of the WordPress widgets, by dragging and dropping them on the Dashboard page, WordPress creates a new setting "meta-box-order_dashboard" in wp_usermeta table for that user. After that, Cusmin order settings for that user will not work anymore, because that particular user has set his own widgets order.
However, Cusmin one more solution for ordering. Please check the Widget Ordering section for more information.
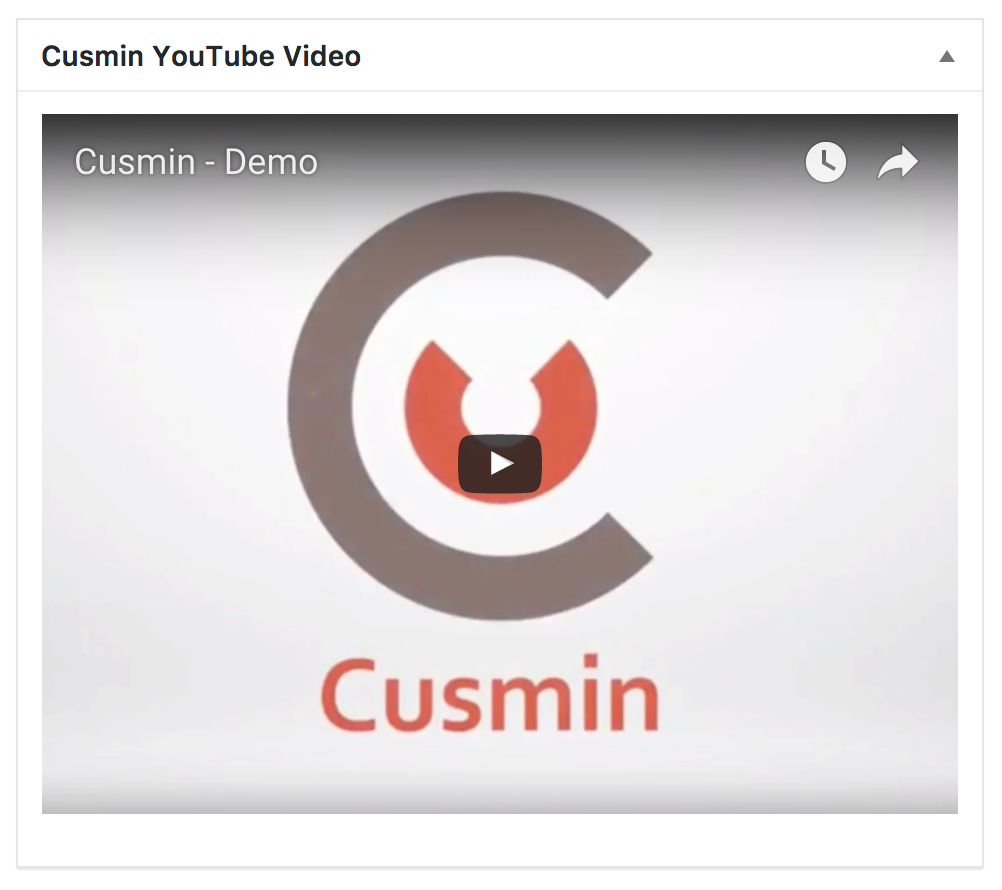
To add a YouTube video as a widget, you would need to first take any YouTube video URL and add it to YouTube Cusmin widget.
Grab a URL from YouTube
To add a YouTube video to WordPress dashboard page, you will need a YouTube video URL, code or data in one of the following formats:
https://www.youtube.com/watch?v=_LDpUPbYnE8_LDpUPbYnE8https://www.youtube.com/embed/_LDpUPbYnE8<iframe width="854" height="480" src="https://www.youtube.com/embed/_LDpUPbYnE8" frameborder="0" allowfullscreen="">Add YouTube Data to Cusmin
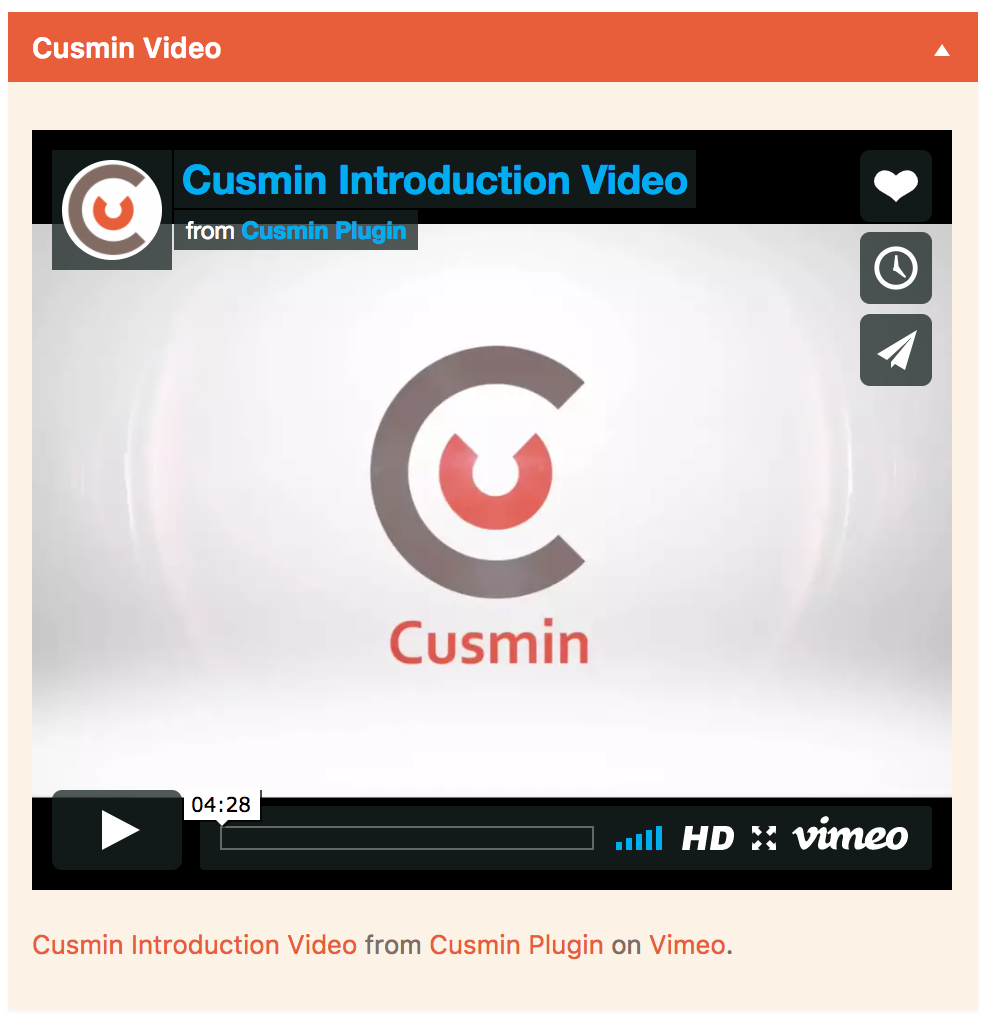
Grab a URL or embed code from Vimeo
Copy URL: Go to the video page and just copy a video URL from the address bar.
Grab embed code: Go to the video page and click the Share button that appears when you hover your mouse over the video player. In the pop-up window, you'll see a field containing an embed code for the video. Just copy the code and we will paste it later in Cusmin.
Examples:
https://vimeo.com/170761901<iframe src="https://player.vimeo.com/video/170761901" width="640" height="400" frameborder="0" webkitallowfullscreen="" mozallowfullscreen="" allowfullscreen="">Add it to Cusmin
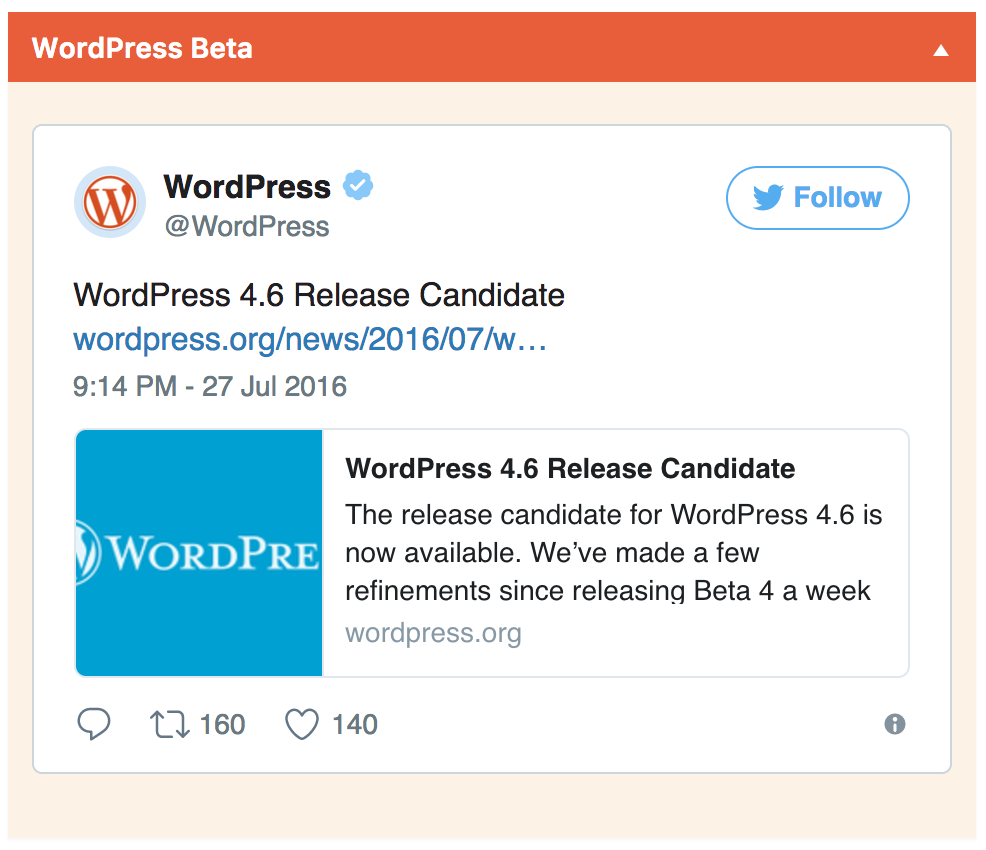
To add a Twitter dashboard widget as a tweet, list, timeline, profile, hashtag etc, please go to Publish Twitter page and follow the procedure. You should be able to generate an embed code there.
Click on Copy Code to get the code. Go back to Cusmin and paste the code in the Embed field. Add the title of your widget and click on Save to save the changes. You should be able to see your need Twitter dashboard widget on your site's dashboard page.
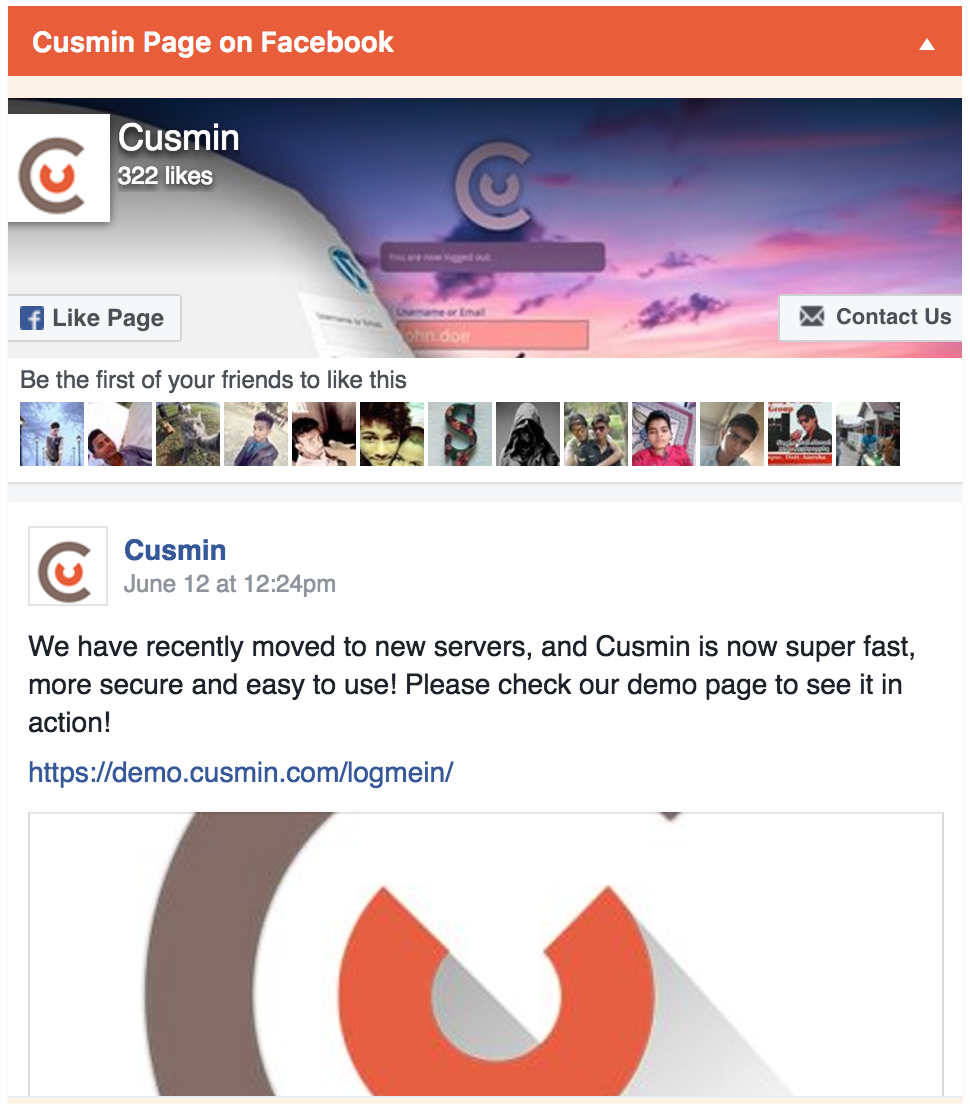
To add a new Facebook dashboard widget, please do the following:
Grab a URL or embed code from Facebook
Add it to Cusmin
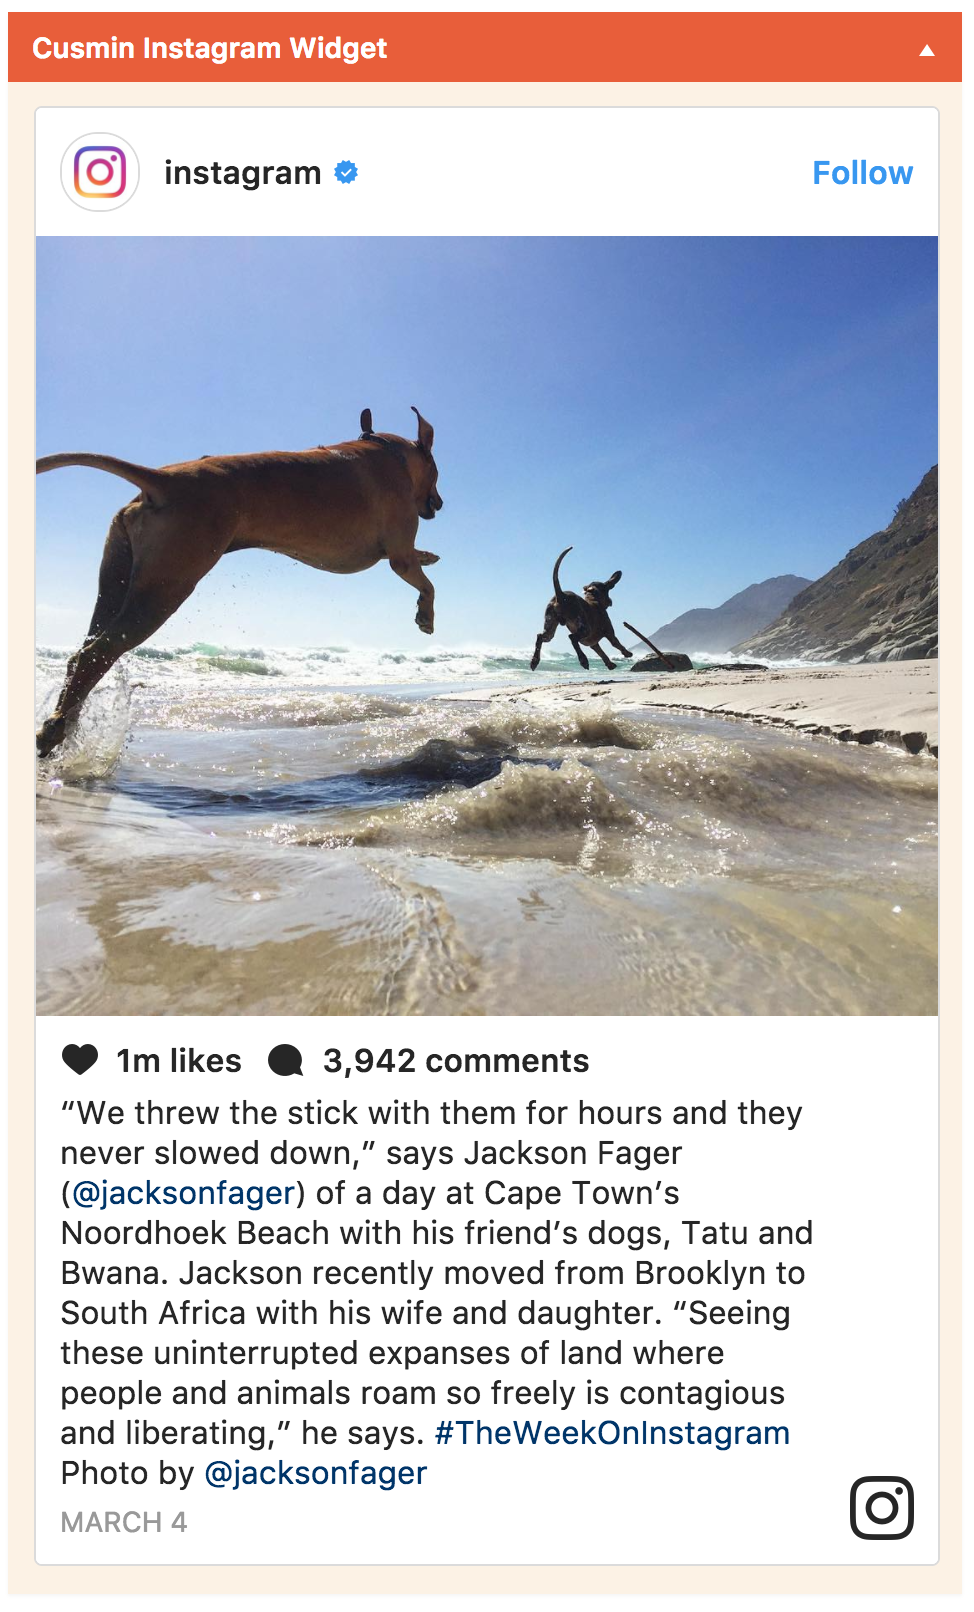
Adding Instagram code
You will need to add an embed code to the Instagram Cusmin widget. To find the code, please check Instagram tutorial for website embedding ("Embedding on your website", not articles for embedding with WordPress and for developers)
Add it to Cusmin
You can add any of these Pinterest content types to your dashboard page
First, you will need to get an URL from Pinterest
Here are the examples how the links should look like:
https://www.pinterest.com/pin/99360735500167749/https://www.pinterest.com/pinterest/official-news/https://www.pinterest.com/pinterest/
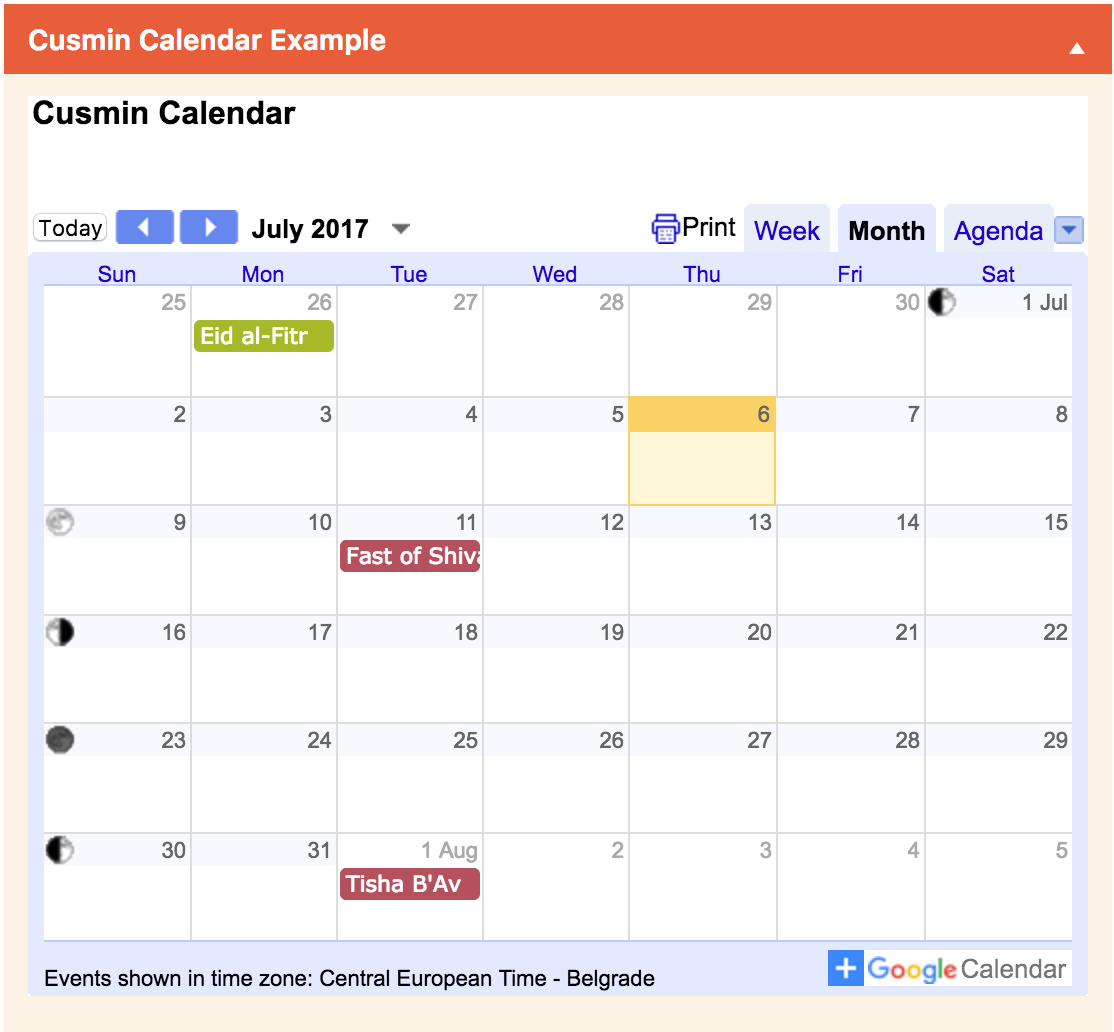
Creating a Google Calendar
First, you need to make sure to have valid Google account. To create one go to gmail.com
Note: If you made this calendar public, all your calendar users can have access to it. If you choose not to make it public, you will need to share calendar individually with particular users (step 5).
To add a RSS widget, please do the following
Here is an example of valid RSS link: http://rss.cnn.com/rss/edition_technology.rss

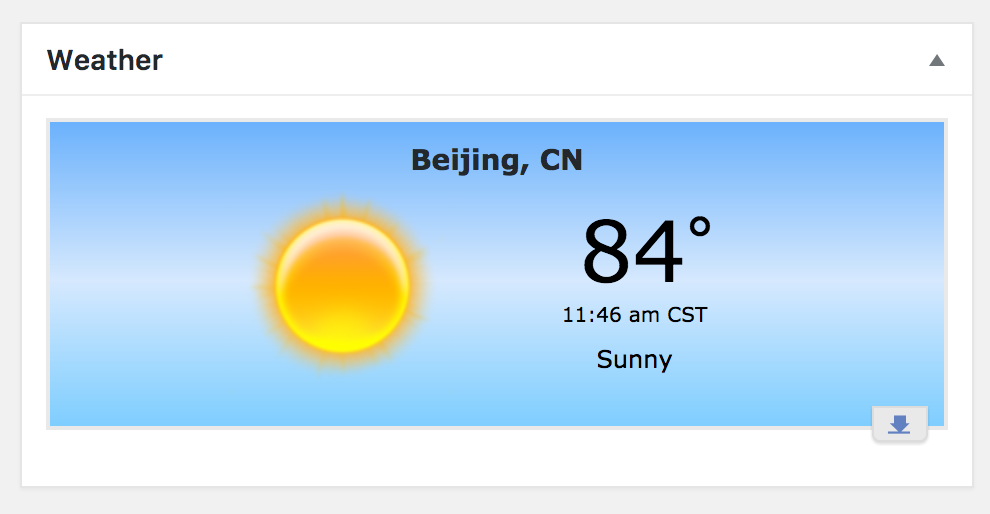
Creating weather dashboard widget in Cusmin
Cusmin can help you to set the default order of the widgets. This works well for the new users, but you can also apply it to the existing WordPress users.
How does custom WordPress widgets ordering work in Cusmin?
This works in a way that you choose a WordPress user that has correctly ordered Dashboard users, and with Cusmin you apply the same ordering to all other WordPress users.
We will call that user, Reference user. This user can be any WordPress user on the site.
Where do I start?
We will presume that you already have all Dashboard widgets created and set on the Dashboard page. The only thing that is left is to set their order.
First, you log in a Reference user and go to the Dashboard page. You will need now to set the order of the widgets by drag-and-drop. WordPress will automatically save this setting for you.
Next, go to Cusmin settings page Dashboard tab > Dashboard Widgets Ordering section.

By default, the reference user is not set (in our example above, it's already set to admin username).
Click on "Select User" button. This will show up the following options:
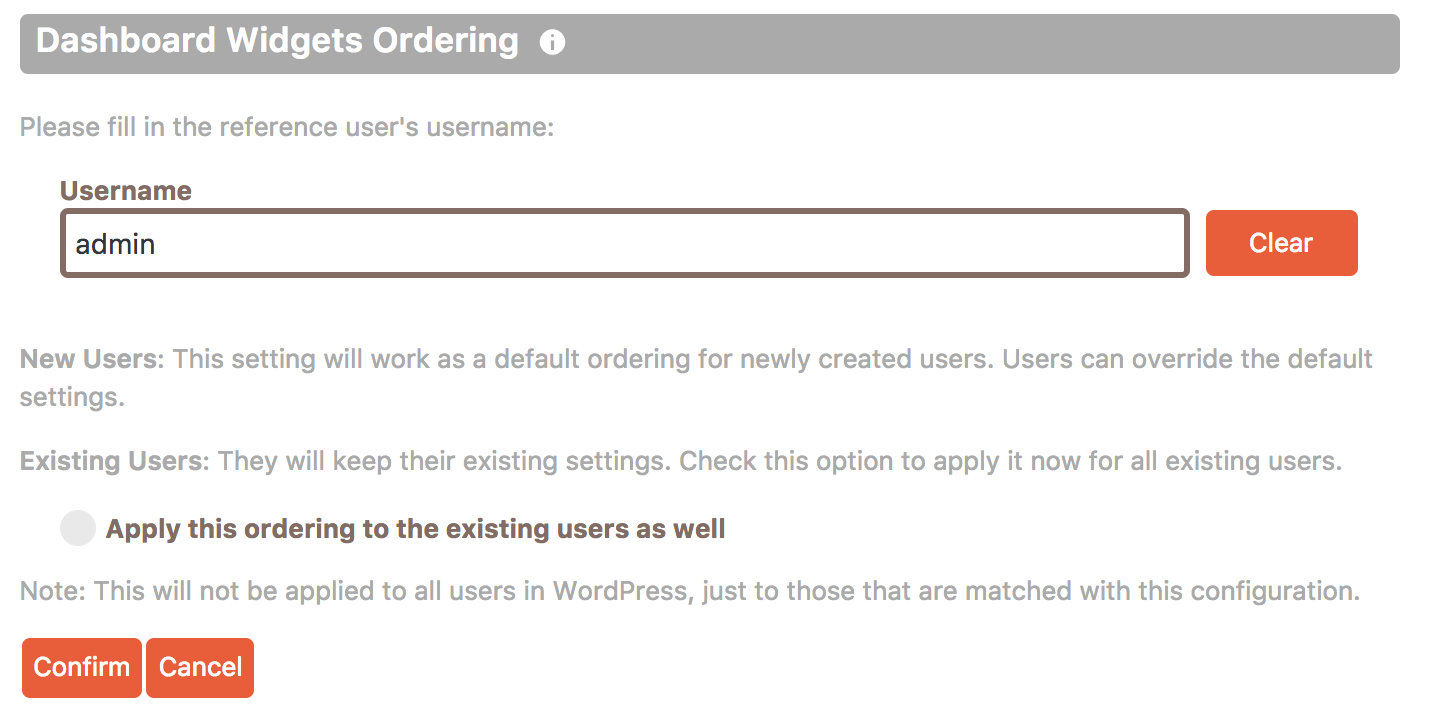
In the Username field, you need to type the username of the user that will be used as a reference. You will need to fill in the correct username, or you will get an error message saying that the user does not exist.
"Apply ordering to existing users" option will apply the ordering to the existing users as well, overriding their own custom ordering.
Click "Confirm" to apply the ordering. If everything goes well you will get a message notification like this:

The default ordering
Cusmin sets the default widgets ordering that will be applied to all new users, so when new user registers or when you add a new WordPress user manually, he will have that order set by default.
However, the user still has a freedom to change that order by himself, setting the order by his wish, only for himself. His personal ordering will override the default Cusmin ordering.
Can I change the widgets order for the existing users?
Yes. If you check the option "Apply this ordering to the existing users as well" before "Confirm" button, when setting the reference user, you can enforce all existing users to have new widgets ordering. This will clear all their custom widgets ordering and make them use Cusmin's instead.
However, after that, every user has a freedom to change the order and make his own ordering again. This option is safe to use multiple times, so you can choose to reset that again later.
Advanced - How does dashboard widgets ordering work in WordPress?
Widgets can be created by core WordPress, plugins or themes.
By default, WordPress adds widgets in the order in which they're registered in WordPress. WordPress widget authors usually add widgets with functions wp_add_dashboard_widget or add_meta_box.
These functions have parameters priority and location, that help WordPress to decide where exactly to add those widgets, respecting the order what the developer has provided. When testing, we can set the priority lower or higher to be able to add our widget before or after other widgets. That's sometimes almost impossible to do, when we have many third-party plugins that have their own ordering priorities and locations where they're putting their widgets on the Dashboard page.
Don't forget that after enabling/disabling some plugins that have their own Dashboard widgets, this can change. At the end of the day, WordPress runs all the code and creates the order in a way how all code is executed, usually, as a plugin/theme developer, you will not have much control over that.
That's the way how WordPress creates the default order for all users. However, every user has the ability to change that order in a way he likes, by dragging and dropping widgets on the Dashboard page. When a user does drag-and-drop,
WordPress will save that information and persist it in the database to the usermeta table as meta-box-order_dashboard metakey. This option contains also user_id field, meaning that every user can make his own order of the widgets, that will be persisted in the database.
After that, every time user opens the Dashboard page, he will see the widgets in his own order, instead of having the default order.
Cusmin takes an advantage of this WordPress option, thus giving you the opportunity to change the default order, and use any of your WordPress users that have a custom order set, as a default order for other users.
Comments
Ready for Cusmin? Pricing - See Demo - Documentation