-
Cusmin ® The Ultimate WordPress dashboard customization plugin


These are the general Cusmin settings that are used for dashboard management and customization. With these options, you have a lot of freedom to customize WordPress admin dashboard in any way you like.
This option hides screen options from admin panel. Screen options are usually used to toggle widgets on/off, to show/hide meta boxes or set some other visibility settings like a number of posts per page etc. Checking this Cusmin option, WordPress Screen Options will be removed for all users on the site.
You can see the default screen options on the Dashboard page on the top/right corner of the page:

Help menu shows some useful information for first-time WordPress users, but usually is not very helpful after that and in most cases, you will want to hide it. Use this option to hide Help menu. You can find help menu on the top/right corner of the Dashboard page.
This will hide the color scheme settings on the user's profile page. This setting is useful if you have already used Cusmin Colorizer to specify your own branding colors and you don't want users to see or try to change the WordPress color scheme.
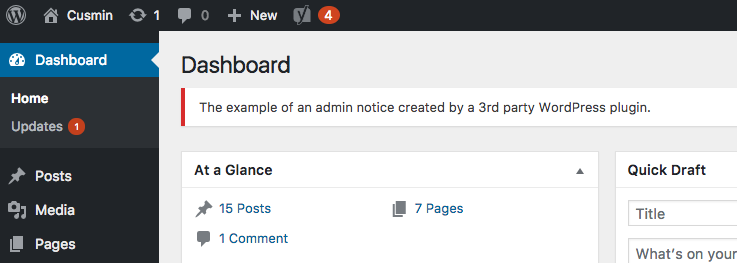
When you have many plugins installed, you will probably get some unwanted admin notifications that you don't want to be visible to your users. This option will help you hide all of them. Cusmin notifications that you have created on the Admin tab, will still be visible to your users.
If you want to add a background image to all admin panel pages, you can use this setting. Your background image will appear in the background of all admin pages. If you use a transparent background image like transparent PNG, you may consider adding a different background color in Colorizer > General > Background like white (#ffffff) instead of the default WordPress gray background color.
Please use background images with lighter colors in order to preserve good contrast with the content on top of it. If you have used Colorizer to set lighter content (text) colors, you can experiment with the darker background images in that case.
In some cases, you would want to change the page title structure on admin pages. The default WordPress structure for admin pages titles is:
PAGE_NAME > BLOG_TITLE --WordPress
For Cusmin Settings page it looks something like this:
Cusmin Settings > Cusmin -- WordPress
You can change this structure to any other structure you like, using these tags %PAGE% (page name) and %BLOG% (blog title).
For example, if we use this structure on the same Cusmin settings page:
%BLOG% >> %PAGE%
the page title will look like this:
Cusmin >> Cusmin Settings
This option can be used to set an image above all content in the admin panel. The image will show up on all admin pages.

To set the image, you will need to provide a correct image URL. You can upload an image to your WordPress site using Media option in admin menu if you don't have the image already hosted on your server.
This will hide WordPress update notification that shows up below admin bar when a new version of WordPress is available.

These options can help you to customize the default WordPress admin footer with your custom text or to completely hide some parts or everything there.

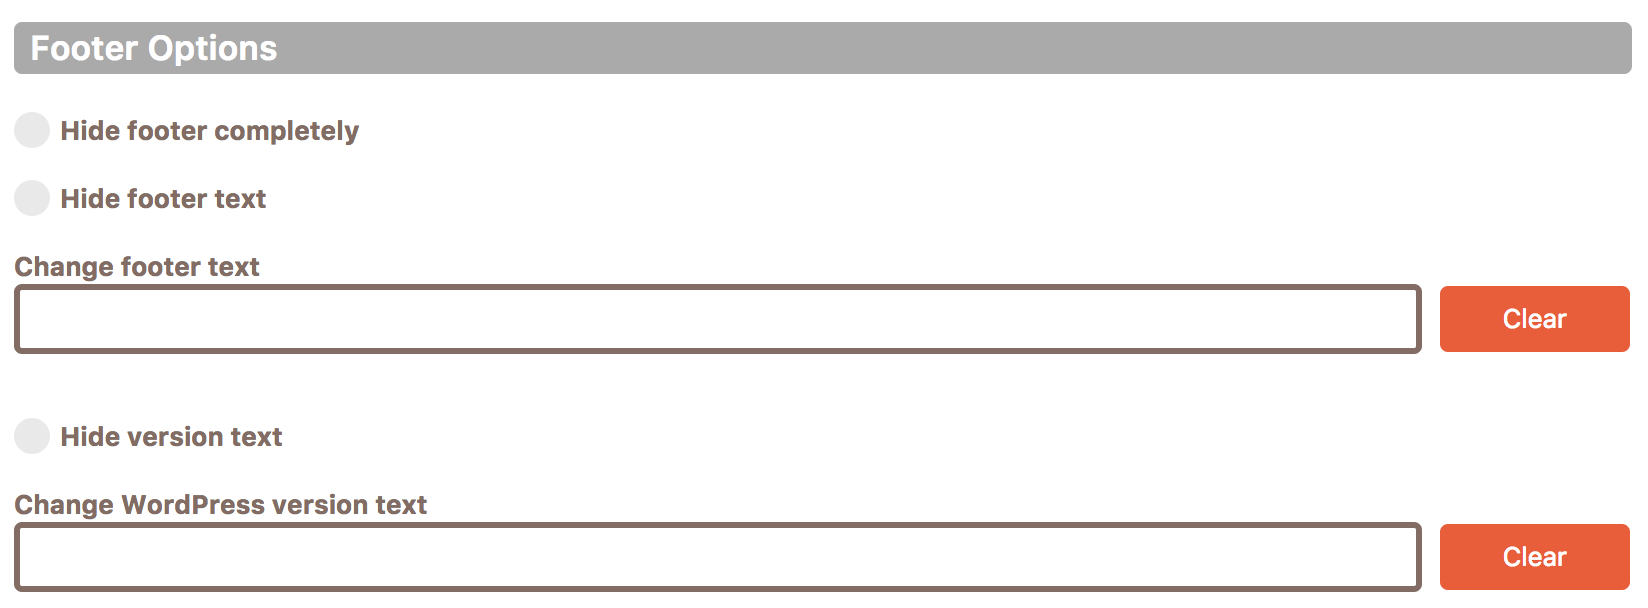
Hide Footer Completely
This option will completely hide the default WordPress admin footer from all admin pages.
Hide Footer Text
This option will hide the default "Thank you for creating with WordPress" text on the left side.
Change Footer Text
This option will replace the footer text with your custom text.
Hide Version Text
This option will hide the WordPress version text on the right side.
Change WordPress Version Text
This option will replace the default text of the WordPress version with your custom text.
This Cusmin feature can be useful if you have multiple users or subscribers that are using your site, and you want to keep them informed about the latest news and information that could be helpful for them.
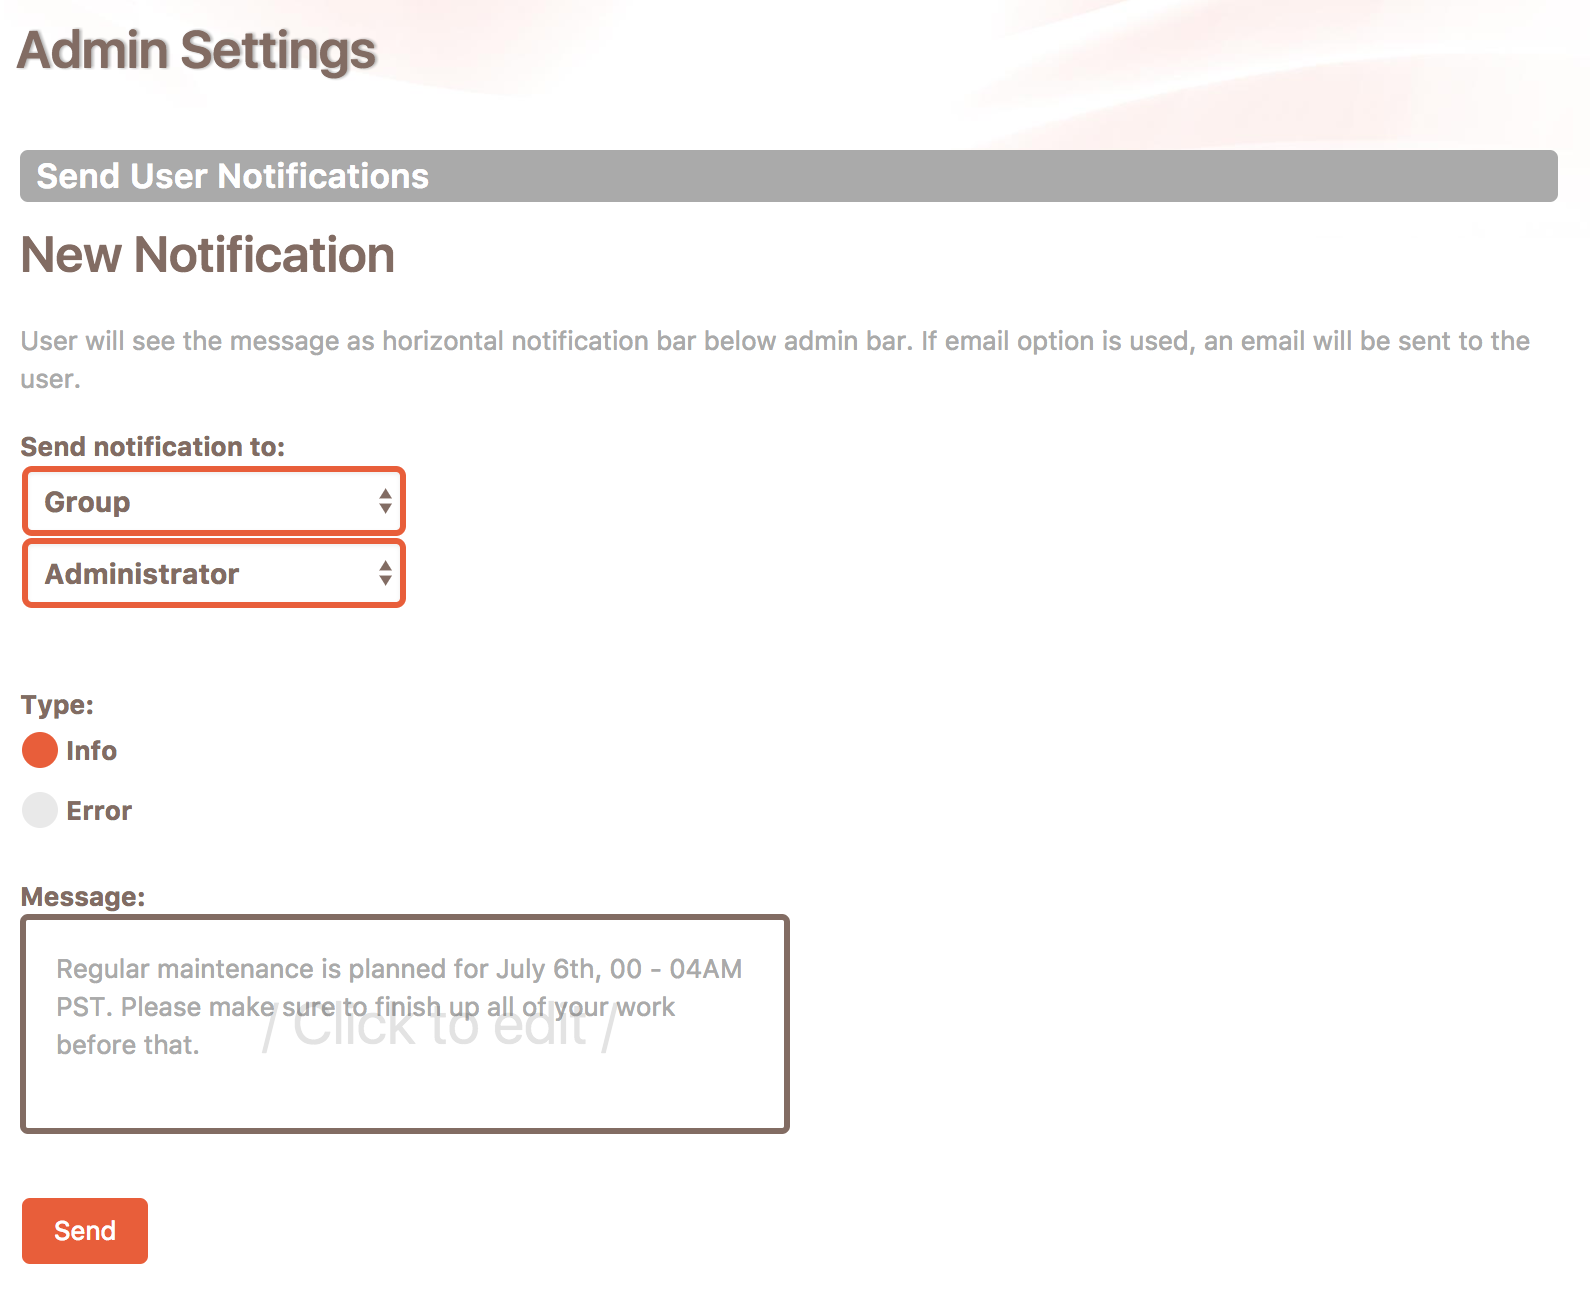
In the first drop-down field, you can choose to send a notification to a group of users choosing Group (WordPress groups) or individual users, choosing User option.
The second drop-down field contains related values, so if the Group is selected in the first drop-down field it will show all WordPress groups, and if User option is selected in the first field, the second drop-down will show all users on the site.
You can choose a type of your notification that could be Info, Error or Email. Email type is available only for individually selected users.
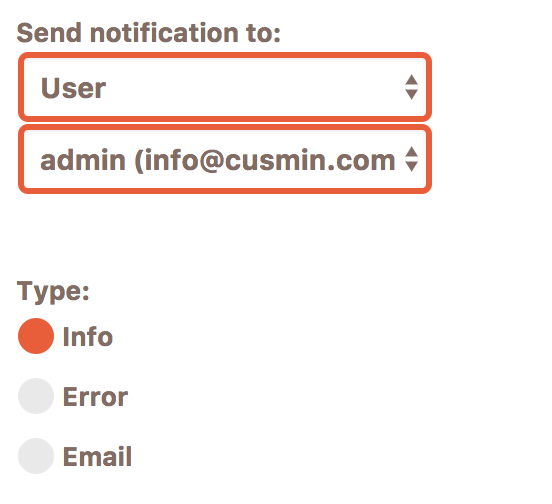
In an example above, we choose to send Info notification to WordPress Administrators. Click on the message box to add your custom message. Fully functional WYSIWYG editor will help you to style and format your message exactly how you want.
Click Send to send the message. You will get the message that your notification is successfully sent.
The next time your admin users log in to the site or refresh the admin page (if they are already logged in), they will see a new notification.

In a similar way, like it was with Info notifications, you can send error notifications as well. The only difference between them is in styling. Here is an example of Error notification:
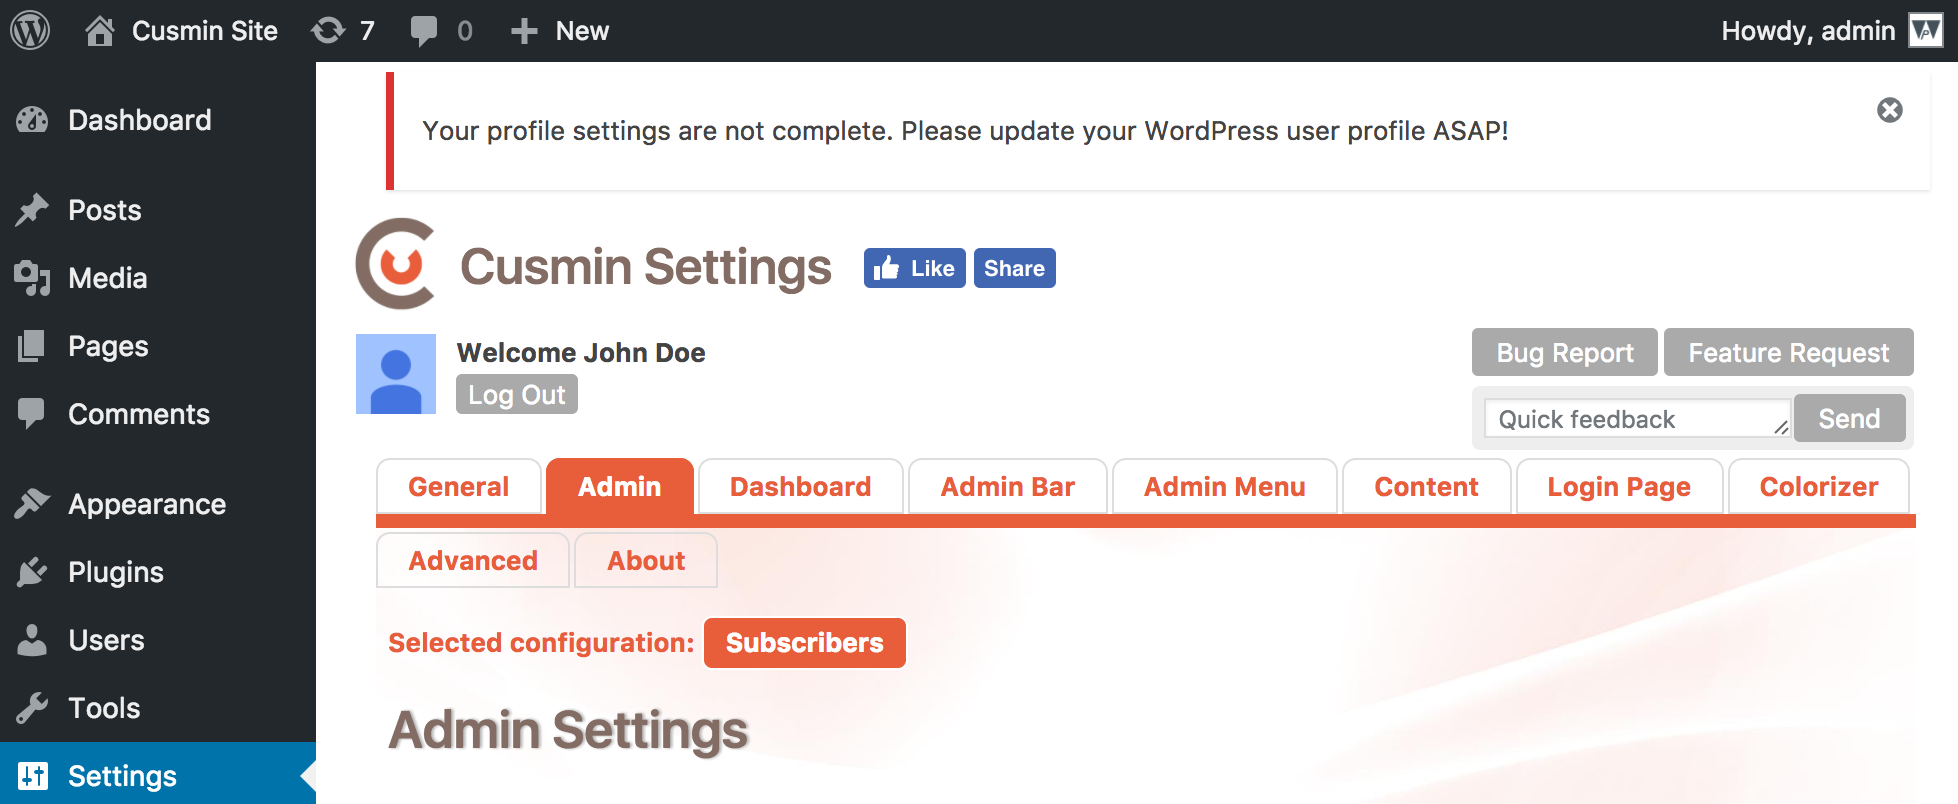
You can also choose to send a notification as an email. This feature will work only if outgoing email configuration is correctly set on your server. Email notifications can be sent only to individual users, so in case that you choose Group instead of User, this option will not be available.
When you select Email option, you will get two fields Subject and Message for your email notification. Click on the Message box to open WYSIWYG editor:
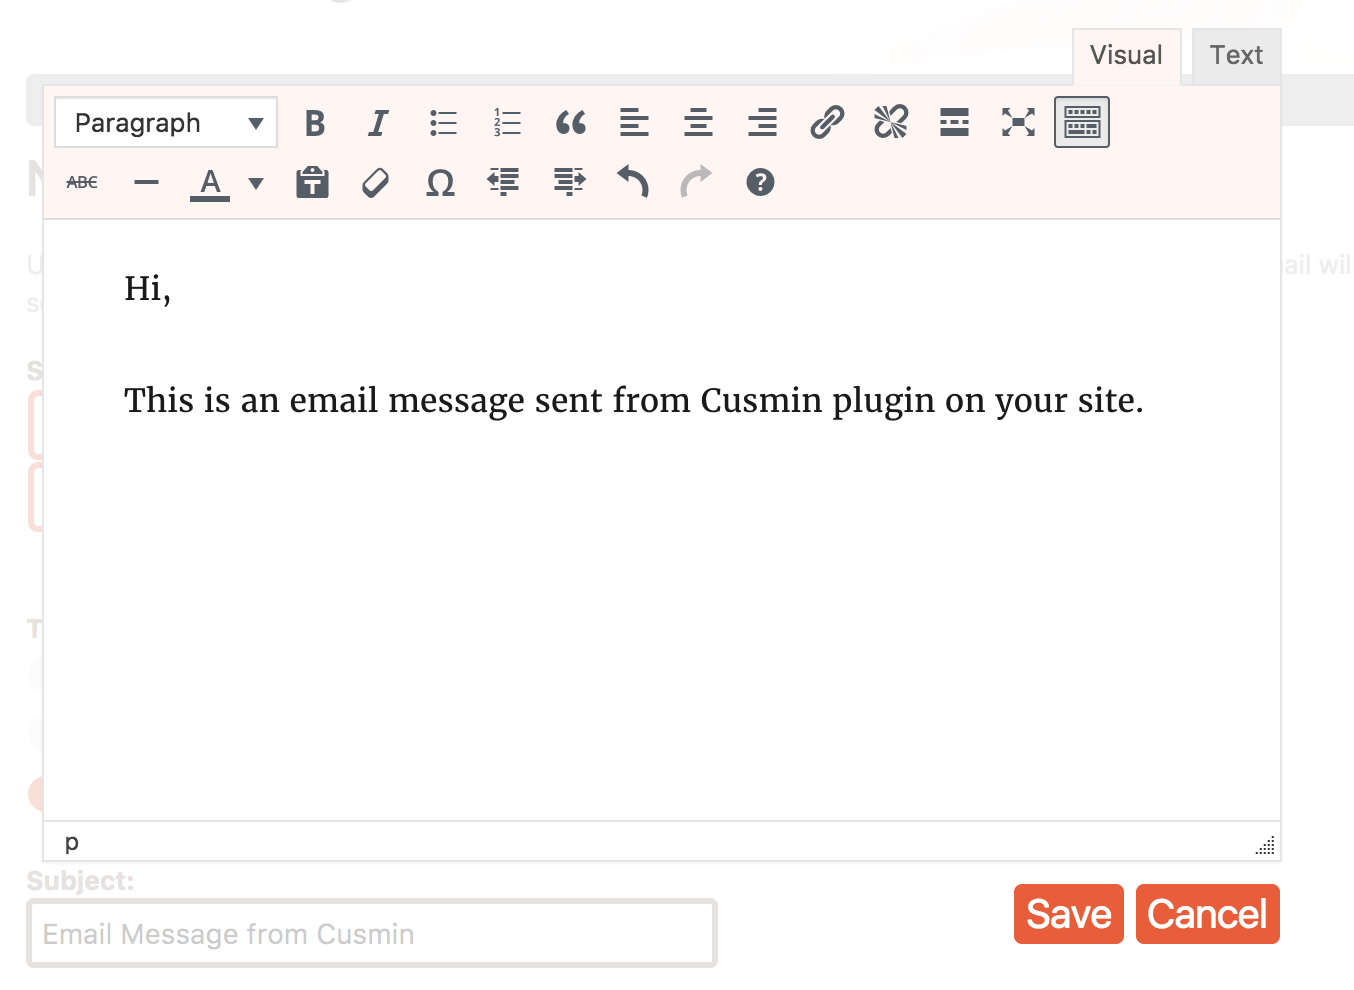
Type in your message and click on Save button to confirm. Your prepared email notification will look something like this:
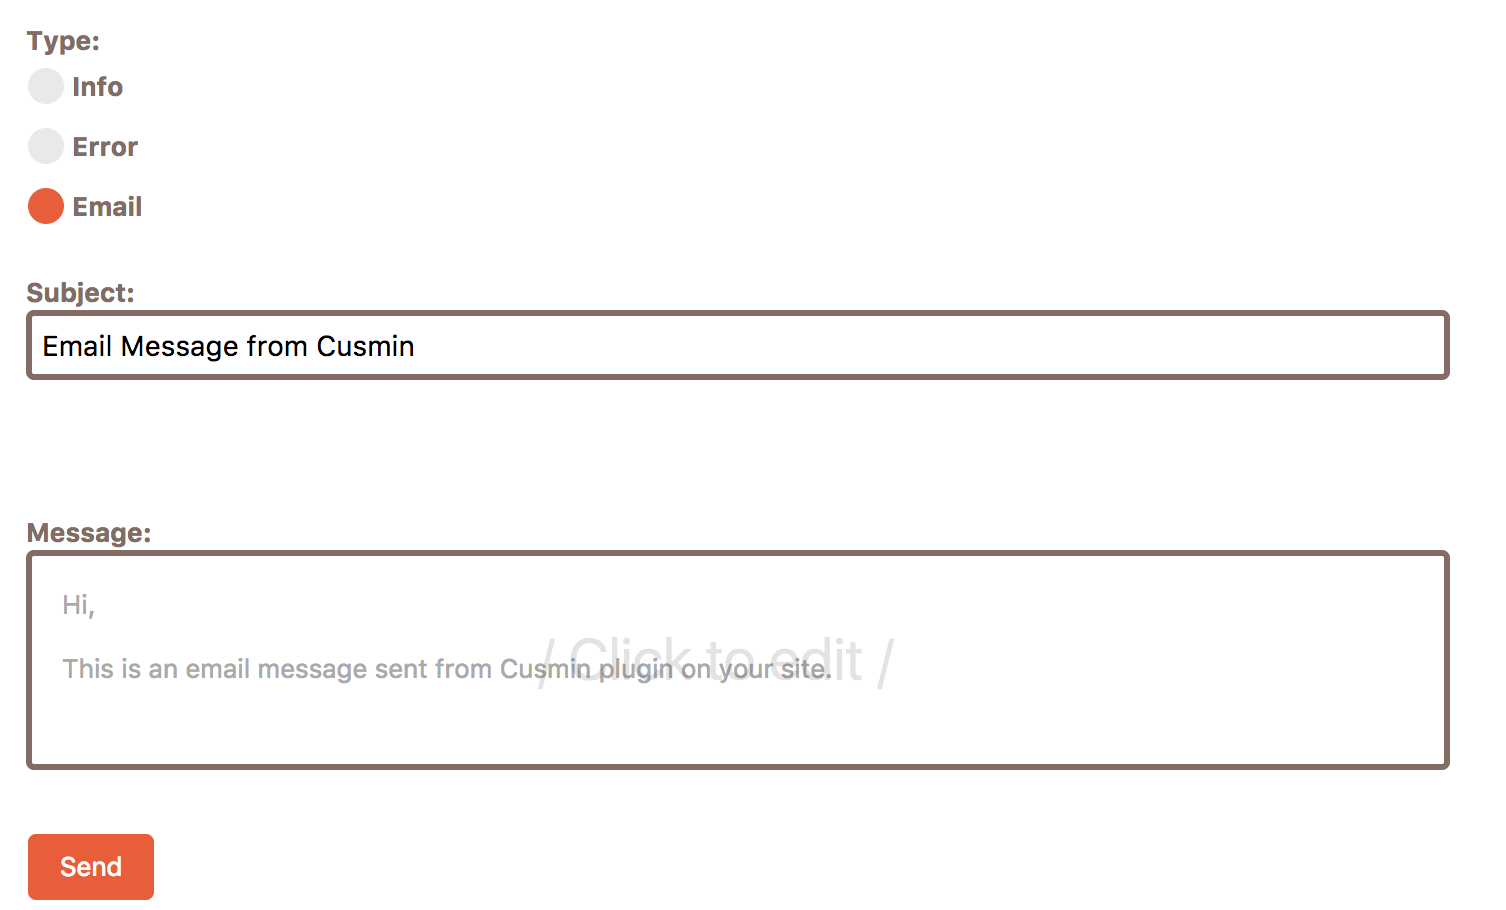
Click Send to send the notification. You should get a confirmation message to confirm that email was sent successfully.
Sent email notification will now appear down below in the notifications table

Once you send a new notification, you will be able to see it down below in the list of all sent notifications:

The Sent Notifications table shows the following information:
With Cusmin, you can set Google Analytics code for all pages on your WordPress site, including public site pages, admin pages and even the login page!
Track admin pages
Add Google Analytics ID in format UA-12345678-1 here to track GA events on all pages in admin panel.
Track login page
Add Google Analytics ID in format UA-12345678-1 here to track GA events on site's login page.
Track public site pages
Add Google Analytics ID in format UA-12345678-1 here to track GA events on all public site pages.
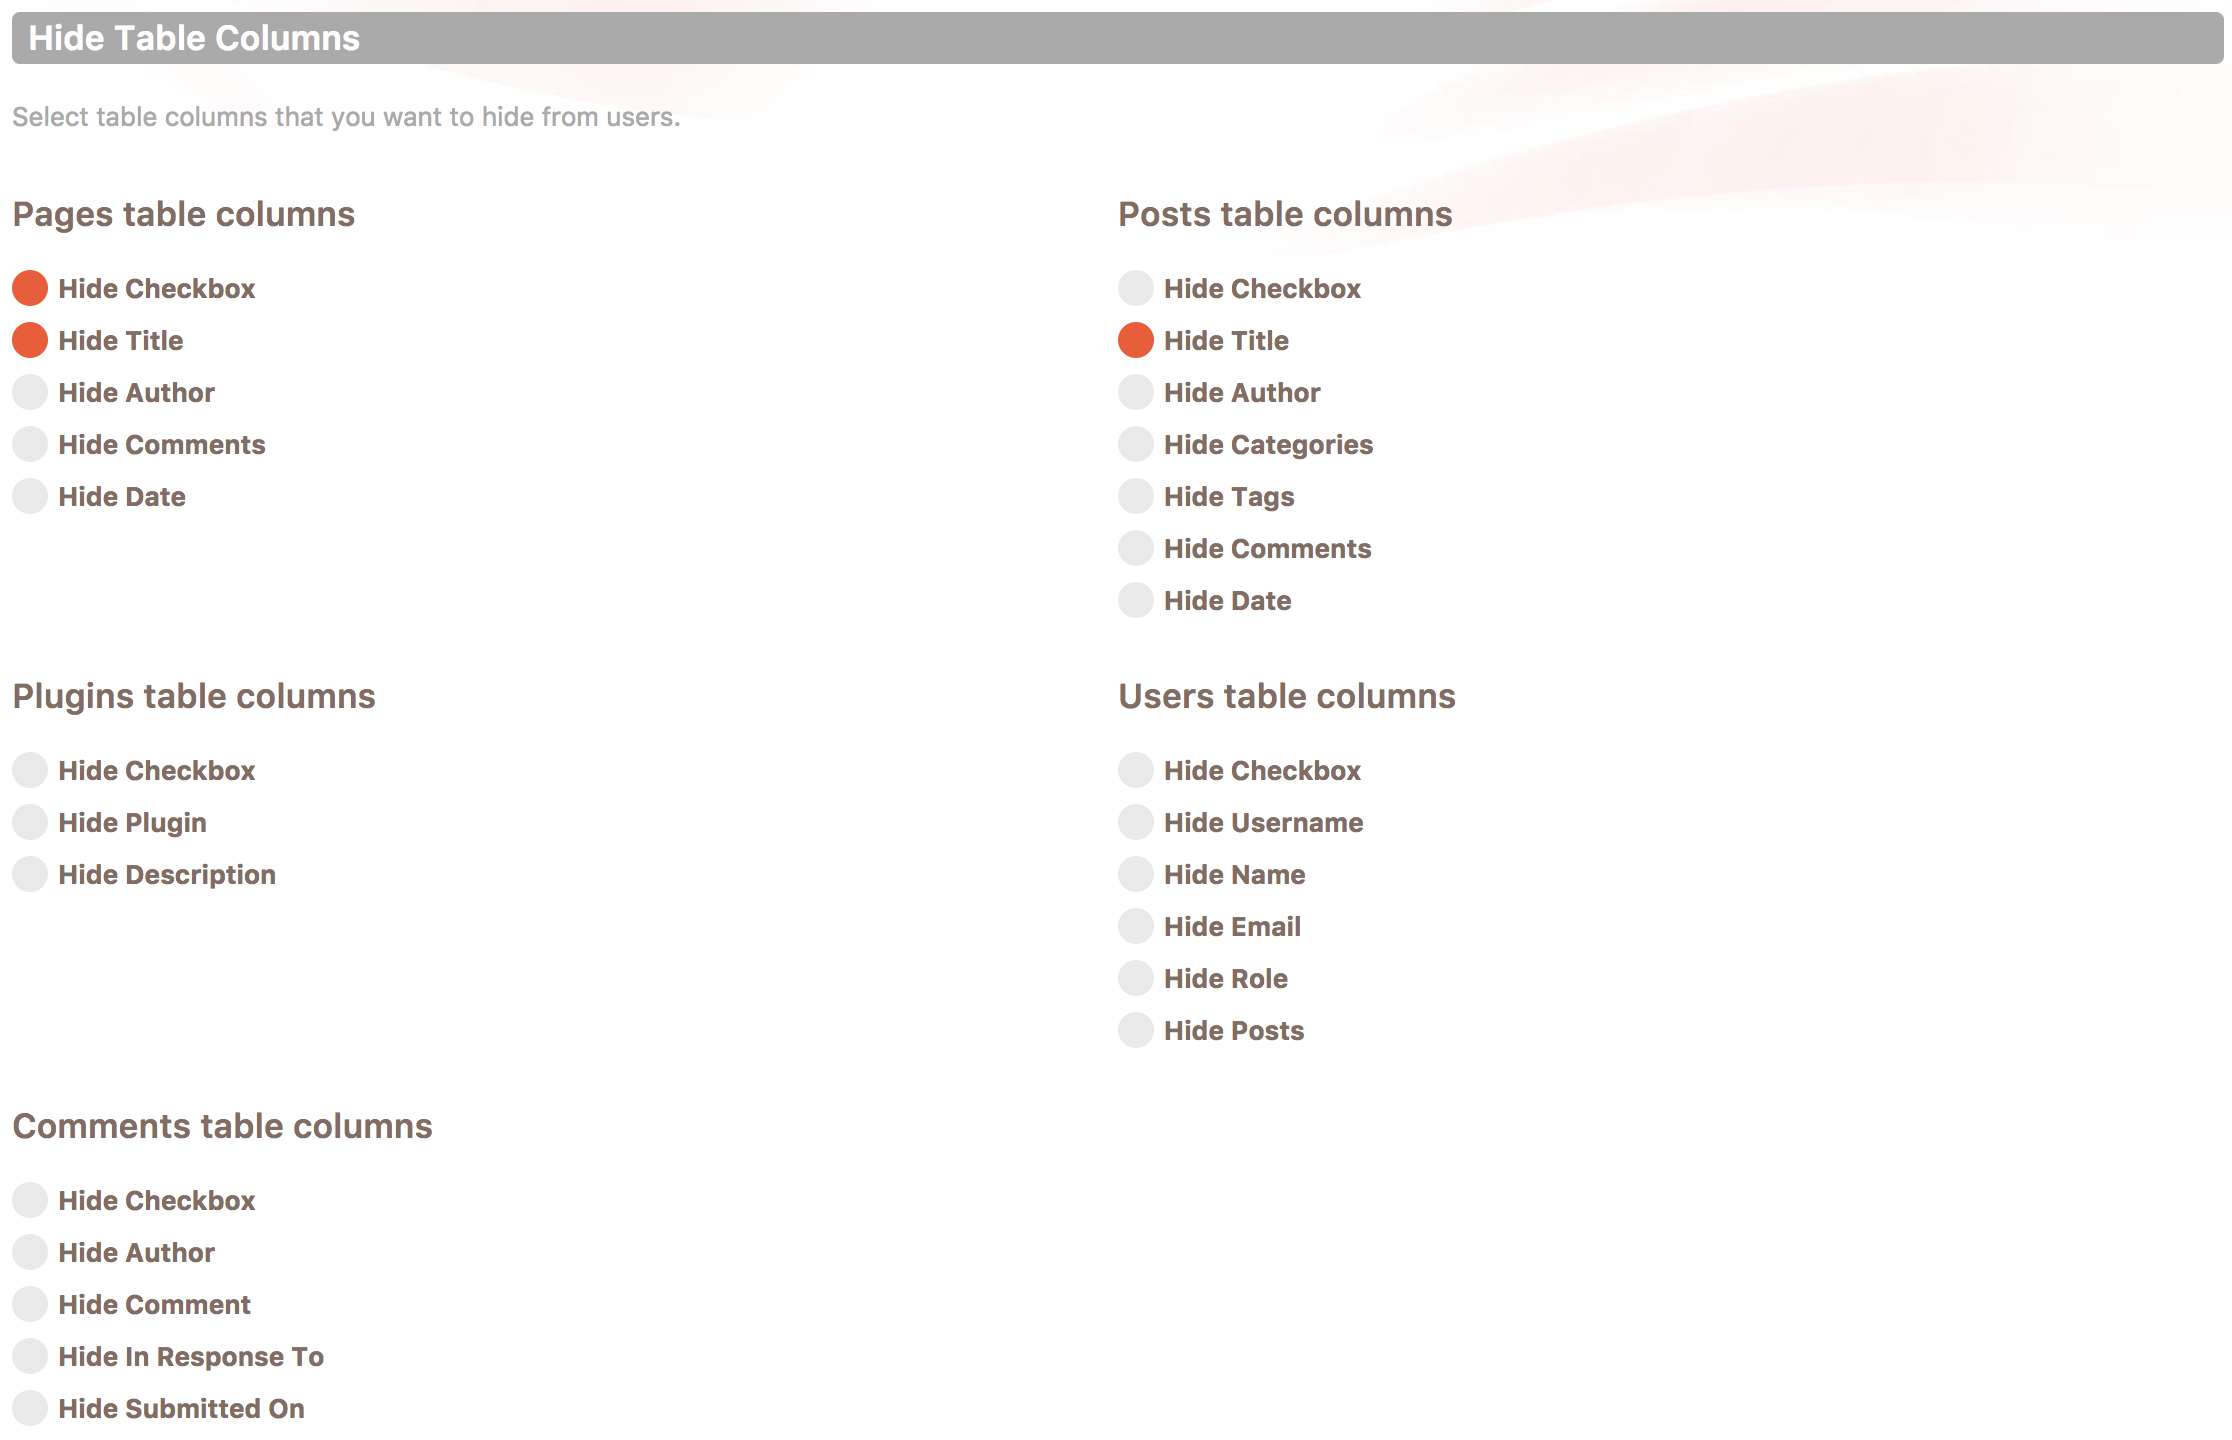
WordPress has many tables in admin panel where you can see the data and edit and delete items. In many cases, you would want to hide some of the columns from your users to make it cleaner to use and maybe to hide some data from your users that they don't need or should not be able to see.
Cusmin gives you the ability to hide all columns from these tables that you don't need. Some of these tables are Posts, Pages, Users, Plugins, Comments and in many cases you should be able to manage tables created by other plugins. Authors of these plugins would need to follow the WordPress way to create custom post types in order for you to see those tables here.
Did you know that you can create custom WordPress admin pages with Cusmin? Custom admin pages are useful when you want to show some content to your users in the WordPress admin panel. It could be a help documentation, intro description, FAQ or legal documents. You can add images, tables or formatted text like you would do in your regular posts.
Cusmin custom admin pages support shortcodes.
Where to Start?
Go to Cusmin Settings page > Content tab > Custom Pages

Adding a New Custom page
Click on the New Custom Page button. A form will appear:
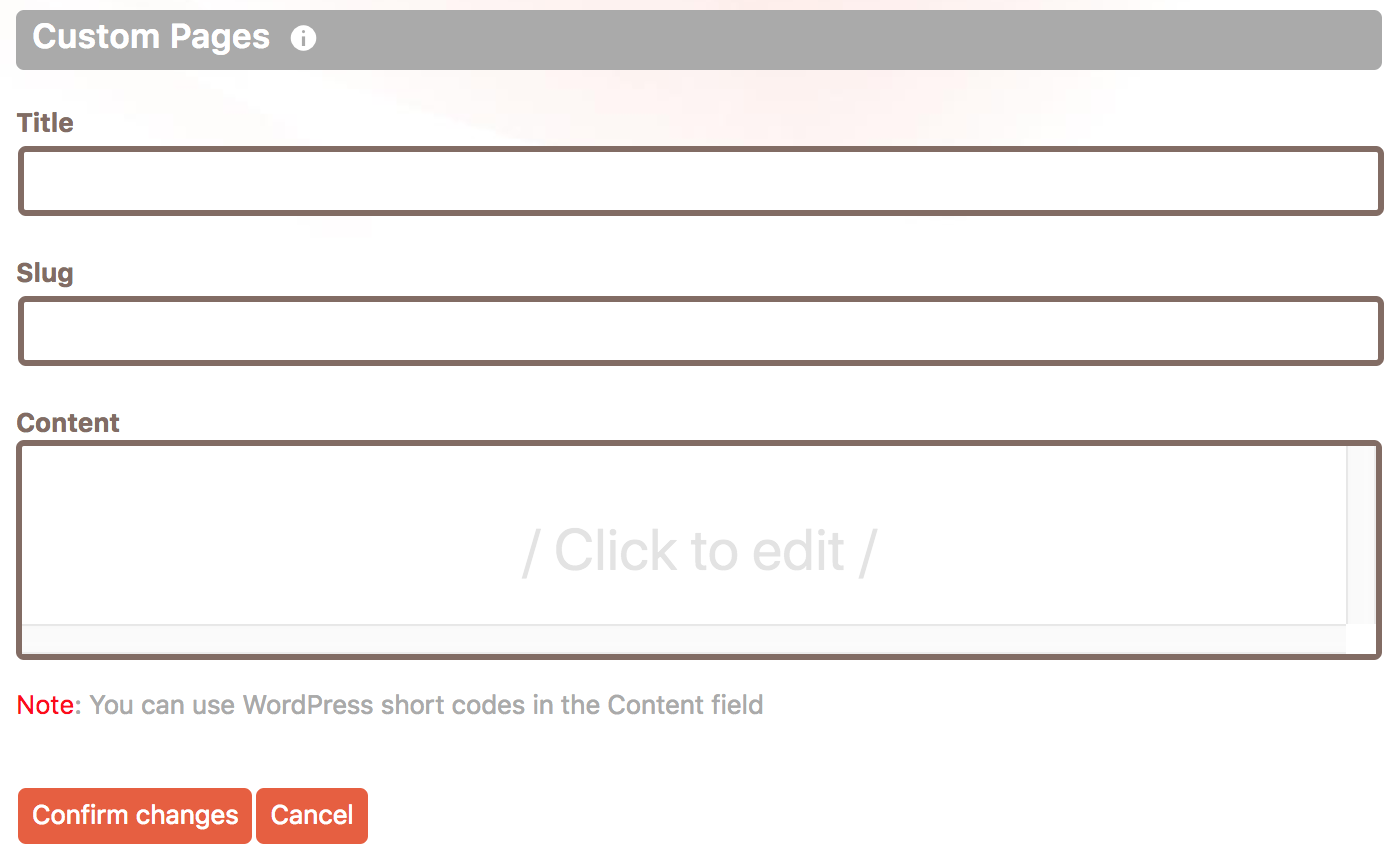
You can add content like images, tables, text in different formats, short-codes etc, like you do with your regular blog posts.
Note: Clicking on the Confirm changes button will not save the changes to the back end. The changes will be preserved only after clicking the master Apply button.
Customizing WordPress Admin Menu Buttons
When you add custom pages, Cusmin will create top-level admin menu buttons for them and append them to the bottom of the admin menu:

Click on the edit button (pencil icon) next to the menu item in the Cusmin Admin Menu Editor. There you would be able to fully customize your buttons. You can even change the order of your custom buttons.
Note: By default, Cusmin will set button names as the title pages. You can change button names here and use custom names instead page names.
Replacing WordPress Dashboard Page with a Custom Admin Panel Page
In some situations, you would rather have a custom page that shows up when user logs in, instead of the default WordPress dashboard page that contains dashboard widgets. Here are the steps to achieve that:
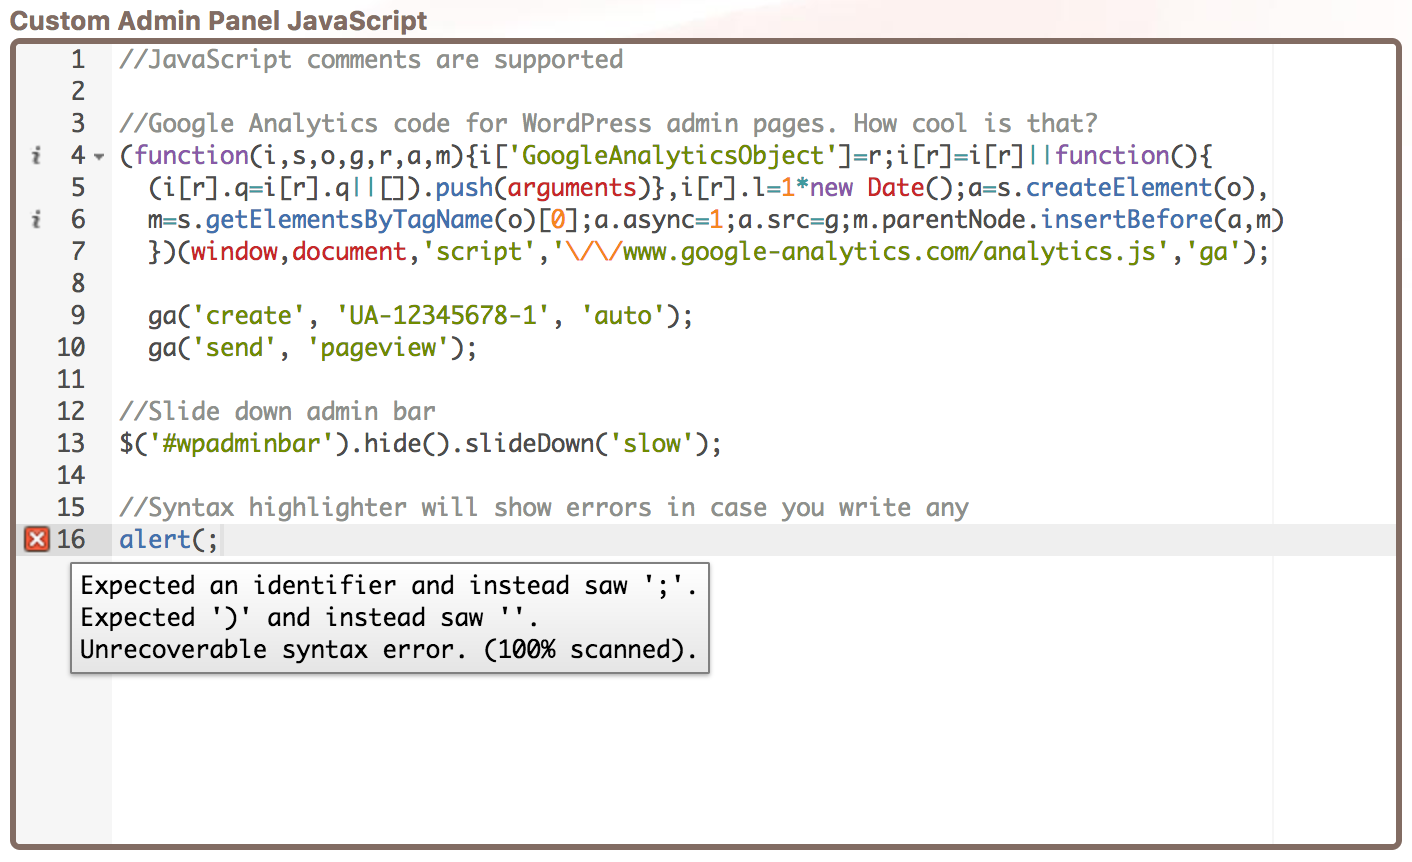
On the Page edit and post edit pages in WordPress admin panel, you can see many different data displayed in the meta boxes.
Cusmin supports Page and Post edit pages, but also will display the other custom post types created by other plugins or themes, if they were following the WordPress way of creating custom post types with editing functionality.
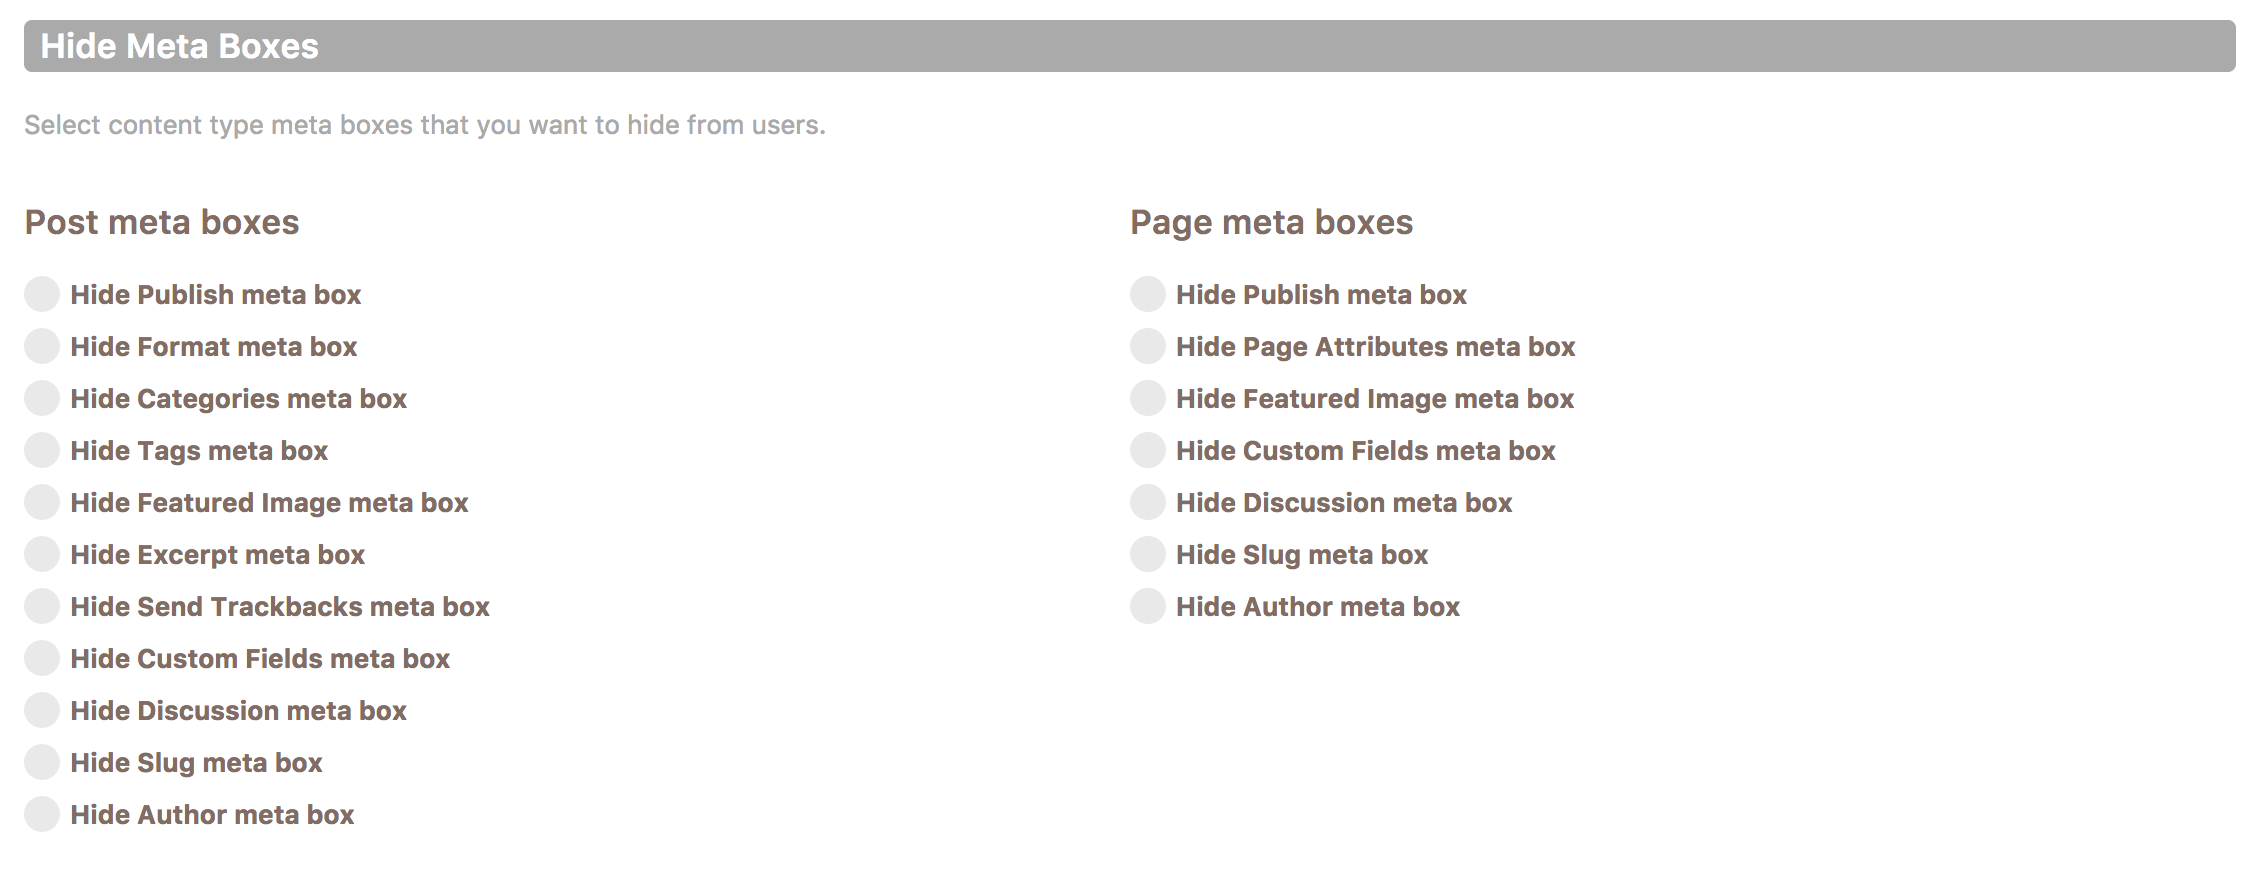
Write your own additional CSS to customize everything else. Features:
You can write custom CSS for:
This covers pretty much everything, and you can use Cusmin even to customize your WordPress public theme!
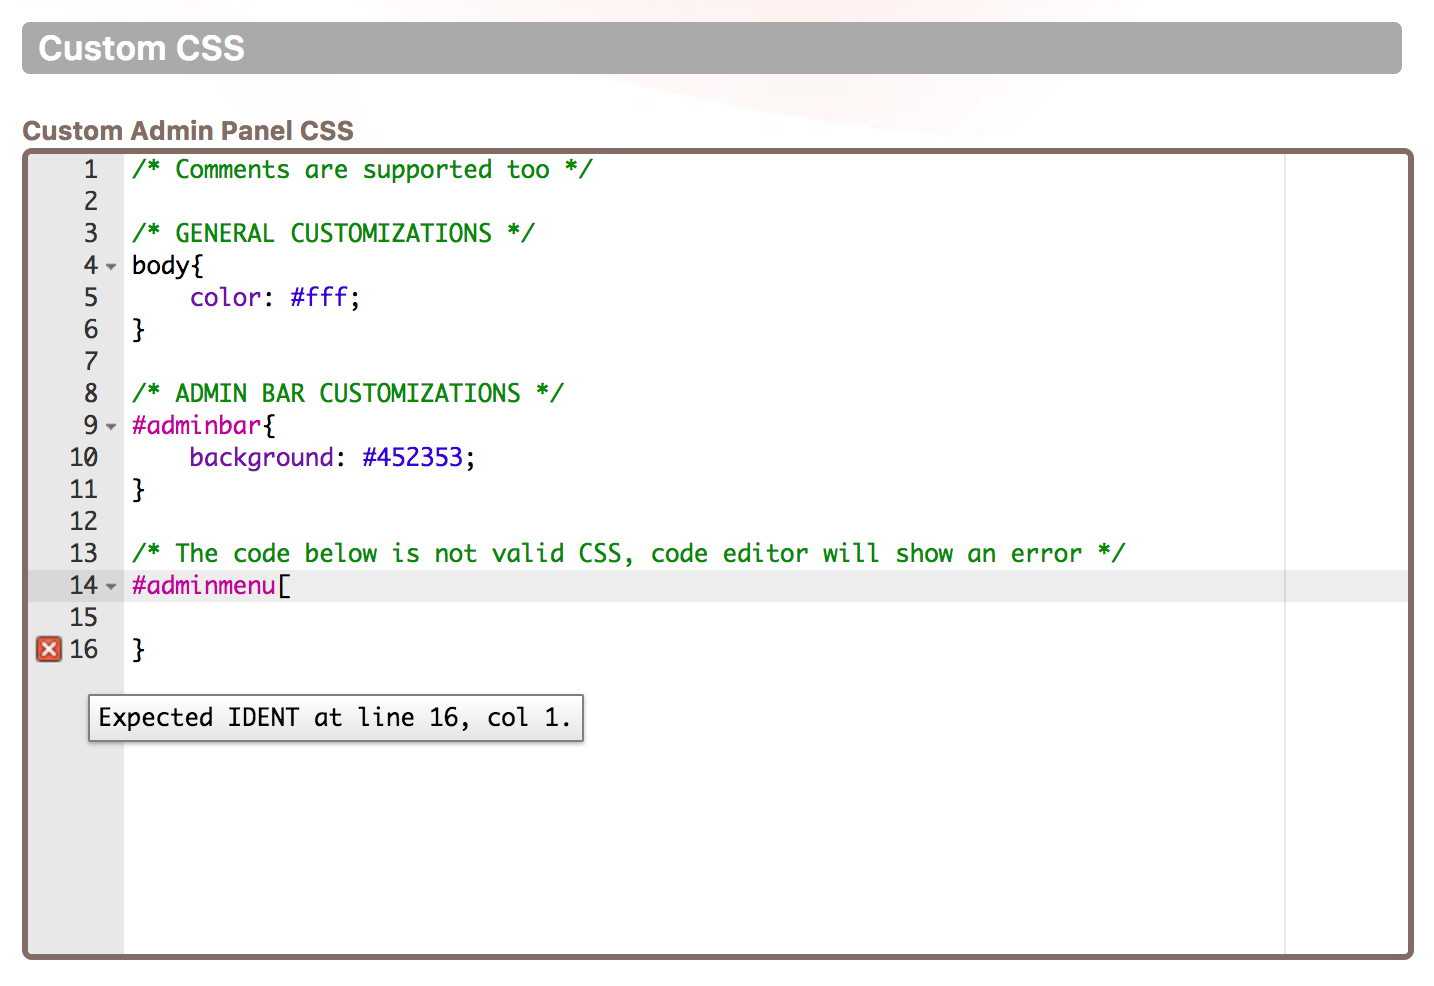
Write your own additional JavaScript to customize everything else. Features:
You can write custom JavaScript for:
This covers pretty much everything, and you can use Cusmin even to customize your WordPress public theme!
Comments
Ready for Cusmin? Pricing - See Demo - Documentation